Showing posts with label Crafting. Show all posts

Wednesday, October 29, 2014

BAKING: Boo Bark

Everything seems to be closing in at warp speed.

My busiest time of the year, just seems to be getting a little busier.
Sorry, for my recent absence.... but, we had some family health issues that were at the priority of our days.... and nights. And even though I LOVE to paint and create, my family comes first. I'm sure y'all can understand. But, praise the Lord..... all is better than what we could have imagined!

So, back to business!

My friend posted a link on her FB page that contained a recipe for Halloween Candy Bark found here at Just a Taste. I decided to give it a shot for some of our lovely neighbors.  I altered a few things from the original recipe. I mixed bittersweet chocolate chips with milk chocolate chips. Plus, I added toasted pumpkin seeds. But, the great thing is.... you can add any candy... and ingredients. Have fun!

This was my take. I call them Boo Bark!


BOO BARK
Ingredients:
3 cups of bittersweet and milk chocolate chips
Kit Kat Bars
Reese's Peanut Butter Cups Quartered
M&M's minus the blue ones
Toasted Pumpkin Seeds 
Candied Boo Eyes


1. Toast the pumpkin seeds in a skillet over a medium flame until they begin to brown and start to pop. Remove from heat and let cool.

2. Line baking sheets with wax or parchment paper.

3. Melt the chocolate chips in either a double boiler or a microwave.
I did mine in the microwave, just don't over cook. It took my chocolate about 1 minute and 35 seconds and then I mixed the chips until they were all melted and the mixture was smooth.

4. Pour melted chocolate on baking sheets.
With a spatula, spread the chocolate evenly about 1/4" thick.

5. Start placing the candy, boo eyes, and pumpkin seeds into the chocolate.
I pressed the items a little into the chocolate.
The chocolate will start to firm up a bit, so this step should be done quickly.

6. Place the baking sheets into the fridge for 30-40 minutes until the chocolate hardens completely.

7. Carefully peel the wax paper away from the chocolate and place on a cutting board.

8. Cut the bark into pieces.

9. Place pieces in an air-tight container until they can be packaged and enjoyed!


This is how I festively packaged them for our neighbors.

I love how you can see the eyes peeking at you from the container.


Do you have plans to make any special treats for friends?
I'd love for you to share with me.

Happy Boo-Day, friends!

Wednesday, June 18, 2014

The Piano Make Over

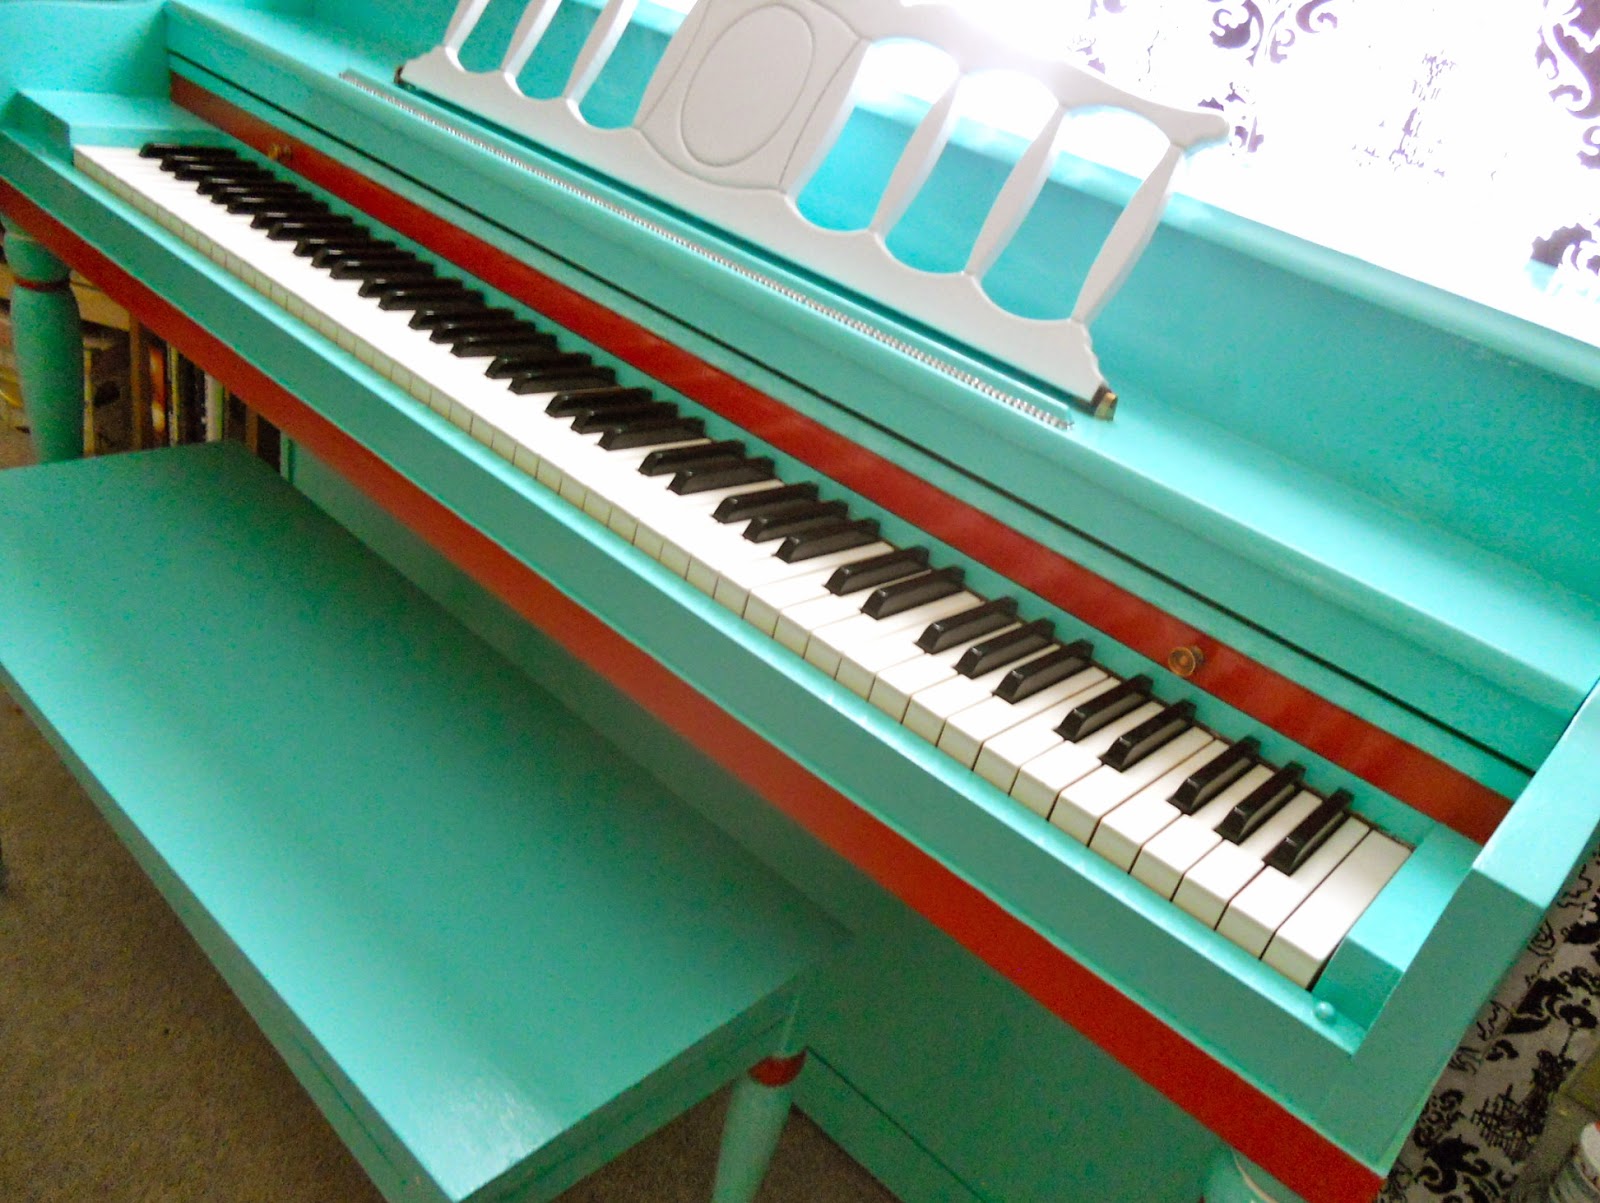
Although this project was completed in the summer of 2011, it is forever etched into my heart. My friend had purchased a thrifted piano and I helped her transform the piece into an ode to Rockabilly Music.

I had posted about it on my old blog, but I received several requests to share the steps again. 
So, here it goes:


Red, white, turquoise and RHINESTONES... what's not to love?!

STEPS to BRING NEW LIFE to a PIANO
a.k.a How to paint a piano.

1. Gather supplies
Painter's Tape
Screw Driver
Primer [We used Zinsser in the Gold/Brown can] oil-based
Floetrol [for even paint strokes - use with paint color]
Paint Color(s) of Choice [We used Valspar Paints from Lowe's]
Good Paint Brushes [for oil-based and acrylic]
Paint Thinner [for cleaning oil-based used paint brushes]
Plastic Containers [for mixing Floetrol with Paint Color]
MinWax Polycrylic [water-based protectant]
Sand Paper [gentle to rough grade grit]
Tack Cloth [for dusting the piano]
Puddy Knife for any Wood Filler Needs
Wood Filler
Brasso [for any metal polishing needs]
Rags and Plastic
Any Extra Accessories [like rhinestones]


BEFORE v. AFTER
2. Dismantle
For ease of painting, drying, and everything sane. We dismantled the piano. You don't have to perform this step, but we did not want a caked-up-glob-of-mess in the spaces throughout the piano. Plus, the piano tuner described exactly what we needed to do... and it was easy. Just required a screw driver... and I would recommend 2 people.


We worked on each individual piece.

Even the piano bench top.


3. PROTECT the Keys
We used painter's tape. We also added towels to the top of the strings for additional protection. 
[Tape and towels may be seen in Step 5.]

4. Sand
Make sure the piece is clean {and dry} before starting this step....
We sanded the entire piano. Not too much... with a medium grade sand paper. About 5 minutes of light sanding on each spot. Enough to get any uneven spots or blemishes even. Prior to this step, if your piece has marks or chunks of missing wood, use a wood filler, let dry, and sand that portion to even. You don't have to sand all the varnish off.  As long as your surface is smooth, clean and you apply primer... the surface should withstand use. We utilized a tack cloth to wipe all the dust off the piece after sanding was completed.

5. Prime
We utilized Zissner's Oil-based Primer in the Gold/Brown can. I ALWAYS have to remind myself that any piece will look horrible after priming. It just does. It's not a smooth looking paint job, it's not solid, and it just looks awful. This project was no different. I really had to hype myself up that it was going to look awesome once we started getting some paint on this thing.


We used one coat of primer and let dry completely overnight. It's really important to prime. It provides a great base for the paint to adhere to the piece. And on such an instrument that is going to get a lot of use and traffic, primer {and sealant} is so important.

6. Paint
We used Floetrol to help decrease/eliminate any brush streaks in our final product. We followed the recipe on the bottle. This little bottle isn't necessarily cheap, but it will last F-O-R-E-V-E-R! So, worth the effort and so worth the extra dry time that will be needed. It extends the dry time to help eliminate the drag drying paint and the paint brush strokes create.

We used a high gloss paint... but the Floetrol will reduce some of the gloss since it is, in essence, diluting the paint. But, we weren't worried about the gloss/shine since we were going to add several coats of acrylic protectant.

We used 3 coats of aqua paint. We could have stopped at 2 [you will probably need at lest 2] but, there was still quite a bit of paint left over in the little cup. We still have about 3/4 of a gallon of paint left!


We then painted the second color [a bright beautiful red!] on selected areas. The turned legs really provided a great element to emphasize!  We also decided to paint the inside of the piano bench with the red. It provides a nice surprise PUNCH when opening to look for sheet music... hehehe.

We then painted the music stand white, along with another ring on the piano legs.

Note: In between coats, the surface may be lightly sanded to smooth out any streaks or clumps/drips that may appear. Use a tack cloth to wipe down the area after any sanding.

7. Water-Based Polycrylic Top Coat Protectant
We utilized the Minwax Polycrylic Water-Based Top Coat Protectant. We did this not only for the protection, but for the added high gloss. The directions state to apply at least 2 coats. We did 3 coats [4 coats on the piano seat].

We reassembled some parts of the piano prior to applying the polycrylic.... but you need to be very careful, because any moving parts could become stuck while drying. Use your judgement when deciding the appropriate time to reassemble your piano.


8. Polish the Metal
We used Brasso to polish the pedals and knobs. I was expecting it to work nicely... but not this well!
I couldn't believe my eyes! I thought the pedals were really worn down. Like, couldn't-be-shined-because-the-actual-metal-was-damaged-and-pitted... WRONG! This stuff worked wonders! Brought new life to those pedals!

9. LET DRY!
Seriously, we let the polycrylic dry for at least 48 hours. It was more like 3-4 days! Worth the wait!

We added the rhinestones after the polycrylic completely dried.


10. ENJOY!!!!!
If you perform a personal project such as this... ENJOY your hard work.


Sit back, relax... take in all the hard work, time, energy, joy, passion, and... 


love that was poured into it! 

After all, you deserve a pat on the back and the thrill of relishing in the new life you helped birth!

I did not receive any payment or incentives on the products or stores I have mentioned in the above post. 
Linking up to Not Just A Housewife and Thrifty Decor Chick link parties.

Thursday, March 20, 2014

DIY: Peep Sunburst Mirror

Sunburst --- Starburst ---What ever you call them...
I thought I would share with you a Throwback Thursday post from my old blog on this first day of SPRING!

This one is DIFFERENT.

This one has PEEPS!


That's right!


Here is how I went about creating this little mirror:

SUPPLIES
2 boxes of Yellow Peeps {1 box extra for grazing while crafting}
6" Circle Mirror
9" Styrofoam Circle
Plate Hanger
Chrome Spray Paint
Black Sharpie
Hot Glue Sticks
Hot Glue Gun
2 Different Bags of sizes/styles of Wood Sticks

1. Section your Styrofoam Circle into 1/8 sections with a sharpie.


2. Place your longest sticks at each of the markings along the outer edge of the circle.
"Stuff" the stick into the middle of the foam edge.
If needed/desired, put a small dab of hot glue where the wood and foam meet.


3. Place your plate hanger on the back of your foam circle.
Hot glue the ends to secure it.

This step is a little tricky... but, it sure makes for hanging A LOT more simple... and I had one on hand. Just first stretch the plate hanger close to the desired size, otherwise the end caps will dig in through the styrofoam and keep on going. Make sure to hot glue! This will stop that process from happening.


4. Add your other length wooden sticks next to the ones you place at the 1/8 marks.
Work your way around the circle.


5. Add more and more wooden sticks according to your desired design.
I went with "spoon" sticks. They added a fun change in shape and length.


6. Spray paint the ENTIRE piece.
I used Chrome Spray Paint.


The effect the spray paint had on the styrofoam was neat... so I went with it.


7. Hot glue the mirror to the styrofoam circle.


8. Hot glue the peeps around the mirror.


NOTE: Be VERY careful with the hot glue and the marshmallow peeps.... one wrong move and your finger could turn into a Smores Dessert {Yes. Totally speaking from experience!}

9. {optional} Add additional wooden sticks around the circle.
I felt like the piece still needed something.... one more layer of depth. So, I added additional wooden sticks, varying the length around the circle right behind the original layer. Same process, I just "stuffed" them into the side of the styrofoam circle. I decided to keep them the natural wood color. I think it's a great contrast.


10. Enjoy!


This is really such a FUN piece.

So.... joyful!

I love how it coordinates with the sunflower painting my mother-in-law painted in 1964!


HAPPY SPRING!

Monday, November 18, 2013

PARTIES: 80's Theme

Like... TOTALLY AWESOME!

We celebrated kiddo's b-day with an 80's themed party this year.


80's attire was encouraged!

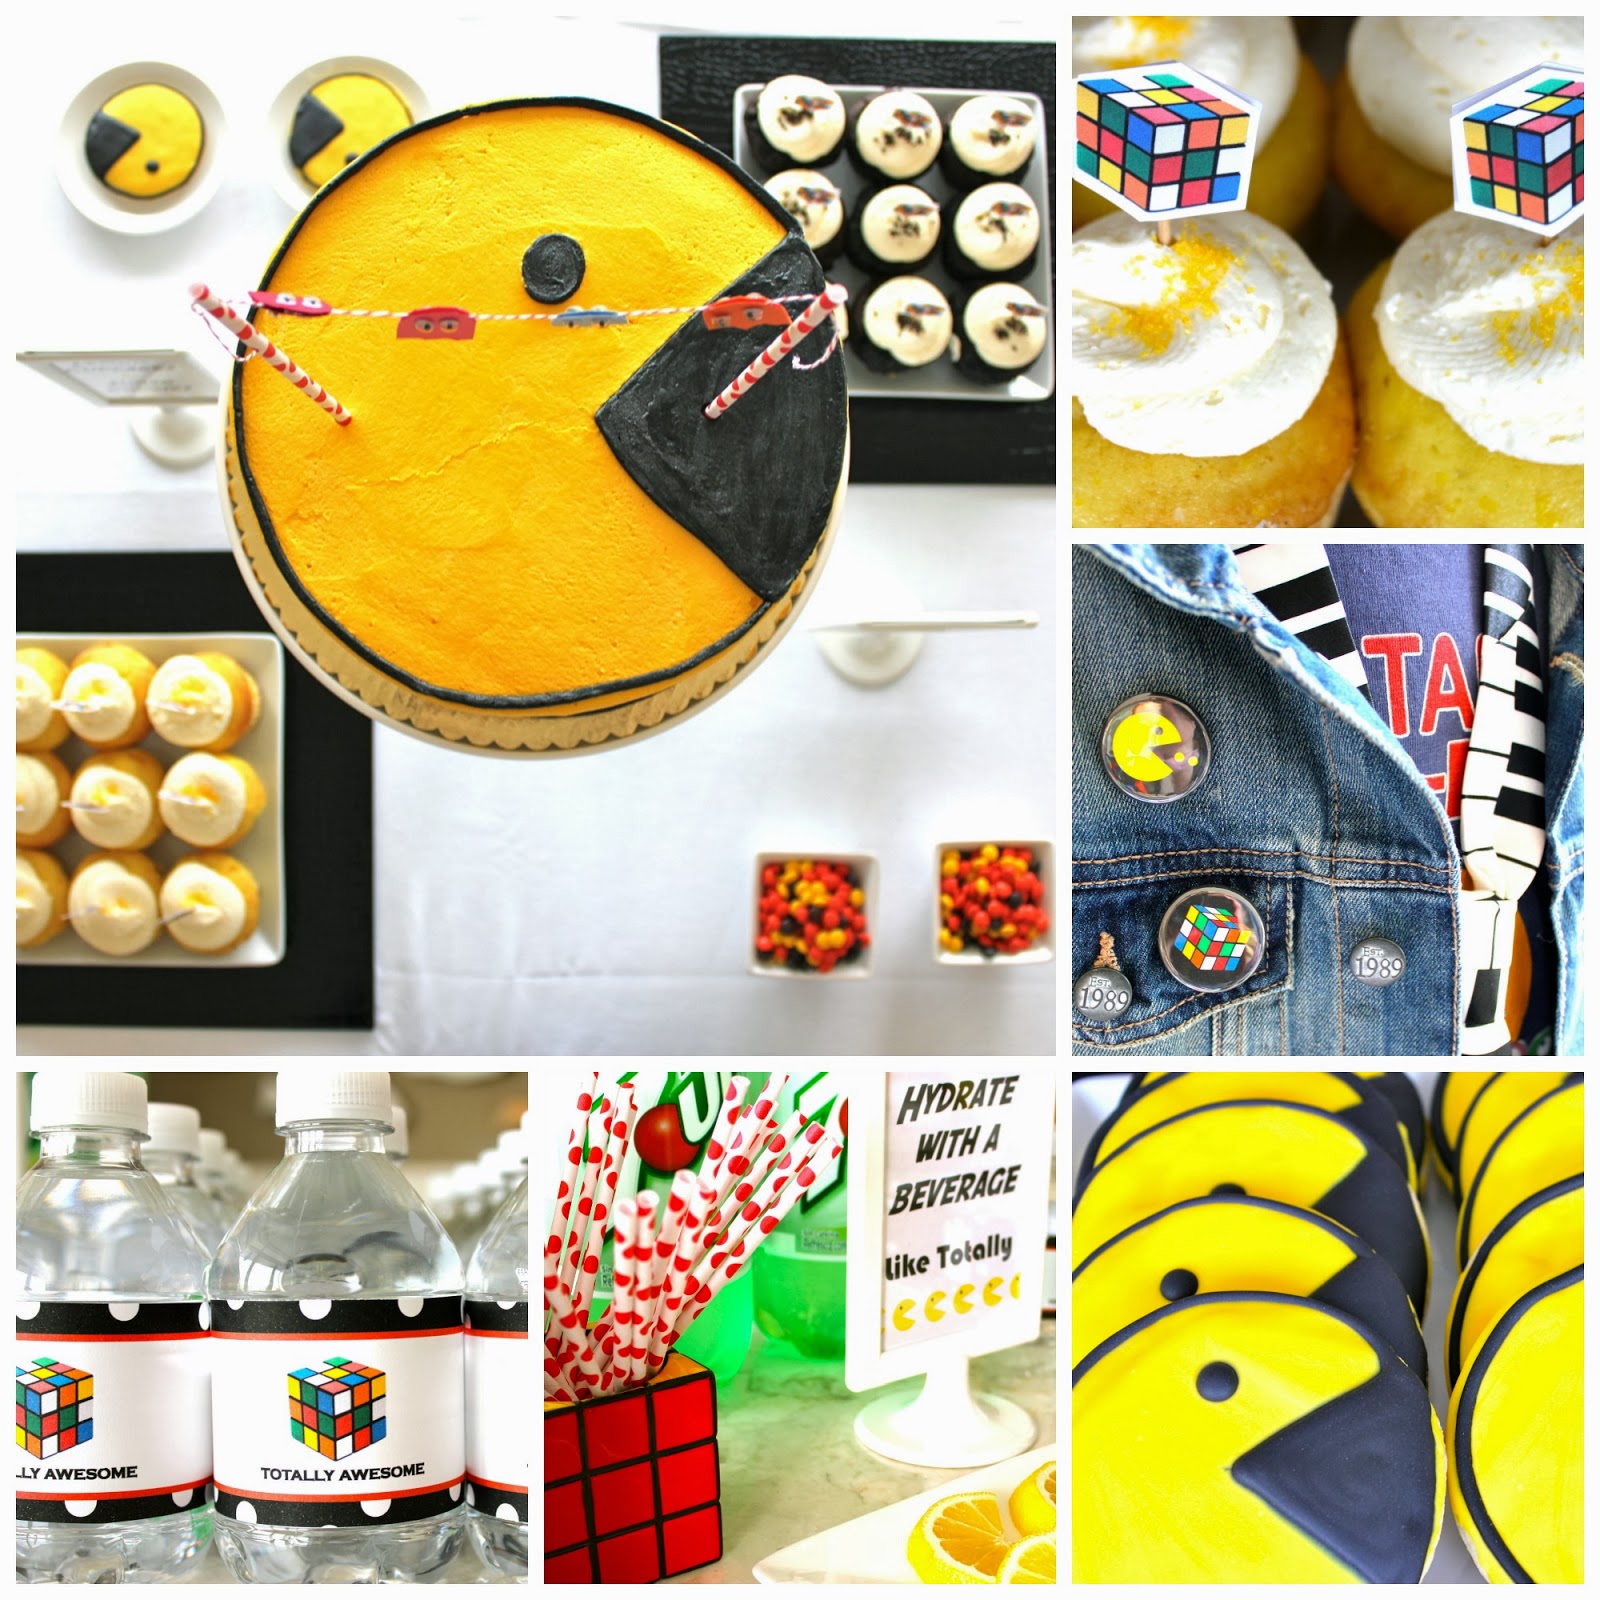
Kiddo was sporting a vintage Atari Pac-Man shirt circa 1982.... pretty cool. 


Every year we chose our theme by kiddo's strong interests [of the moment]. This year was no different. 
He also likes to participate in the decision making and production of all the party decor.

For every holiday, birthday, or special occasion we decorate our front door. 
This is where kiddo participated and created all the pixel images of the ghost and Pac-Man.


Upon entering our home, our guests were greeted by a vintage E.T. Lite Brite, vintage Pac-Man Clock and some pretty radical buttons.


Awww.... boomboxes and cassette tapes.
Did you ever record songs off the radio on one of these things?


We wanted to anchor our decorating scheme with color. So, we chose the colors from a classic 80's puzzle -- The Rubik's Cube: orange, blue, red, yellow, green and white.


We also put emphasis on the 80's items that kiddo is specifically interested in: Pac-Man and the Rubik's Cube. And of course, the 80's pop music was playing during the entire party.

Before the cake, ice cream and presents.... we participated in our annual BOYS vs. GIRLS Scavenger Hunt
This year.... it was 80's themed. 

Each team was to complete a side of a "Rubik's Cube" in their team's color. Boys were blue and girls were yellow. Each clue provided an image from an 80's movie, TV Show, or song. 

Our guests had to guess how that corresponded to a location that was associated with the Birthday Boy. At that location they would find their puzzle piece. 

After 8 pieces were collected, the 9th location led them back to the birthday venue. 
The team that arrived first --- won. 
And.... the boys won... again
The current score is 2 wins for the boys and 1 for the girls. 
GIRLS -- We always have next year!


I made the cupcake toppers from an image located on the web.


The Reese's Pieces Cookies were delish! 
Here is the recipe.

Very very simple recipe, too. I'll share it later in the week.


What do you top a Pac-Man Birthday Cake with????

Ghosts.... of course!


Pac-Man wedges to place in your beverage of choice!
I utilized the same Rubik's Cube image to make the water bottle labels.


Each of our little guest left with a party favor Pac-Man cube filled with a vintage 80's Garfield mug, a mini Rubik's cube and popular 80's candy.


We had such a fun time!


Like... TOTALLY AWESOME!

Linked up at Thrifty Decor Chick and Tip Junky.
 
BLOG DESIGN BY DESIGNER BLOGS